


Table of contents
Problem Statement: Design and implement a cost-effective and reliable solution for hosting a static website, ensuring high availability.The solution should accommodate varying traffic loads, provide efficient content delivery to users worldwide.
Implementation

We will create above architecture to solve this real time project issue. Where in S3 bucket will be used to store the content of static website, Cloudfront will be used to provide TLS/SSL certificate and load website faster and Route53 will be used to route the traffic to respective endpoint.
AWS Account: You must have an AWS account to move ahead in this article. Highly recommend you to first create AWS Account. You can create by your own or watching Youtube video. To create AWS account follow this link https://aws.amazon.com. Remember you would need Credit/Debit card and PAN number if registering AWS Account for Individual use. After sign-in your AWS Dashboard will look like below image.

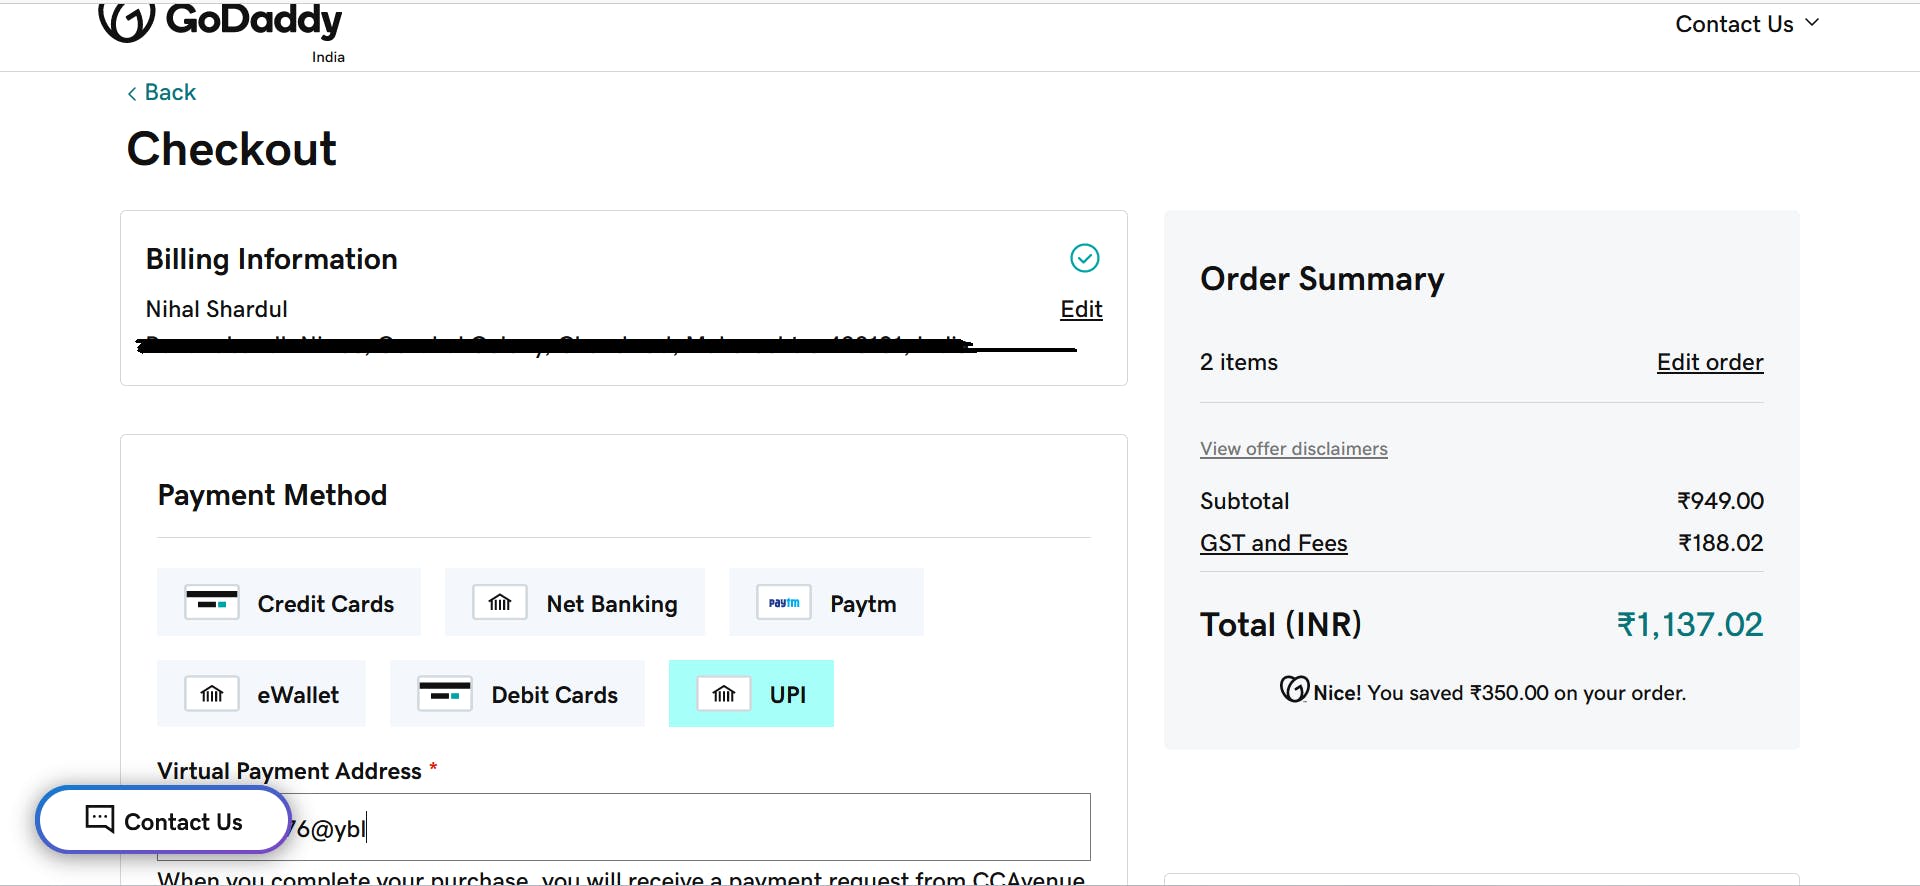
Buy a Domain: You can buy a domain from any domain provider. I have purchase domain from GoDaddy.com . Even for this you can find a video on Youtube. This are straight forward steps, that is the reason I'm not including those steps in this article. A single domain would cost you around 1137 INR.
Local Project: Build your project from the scratch or use template of any available project and edit as per your preference. Try and test it first on your local machine first.

S3 Configuration: Move on to your AWS Account and sign in. In Search box type S3.It should look something like below.
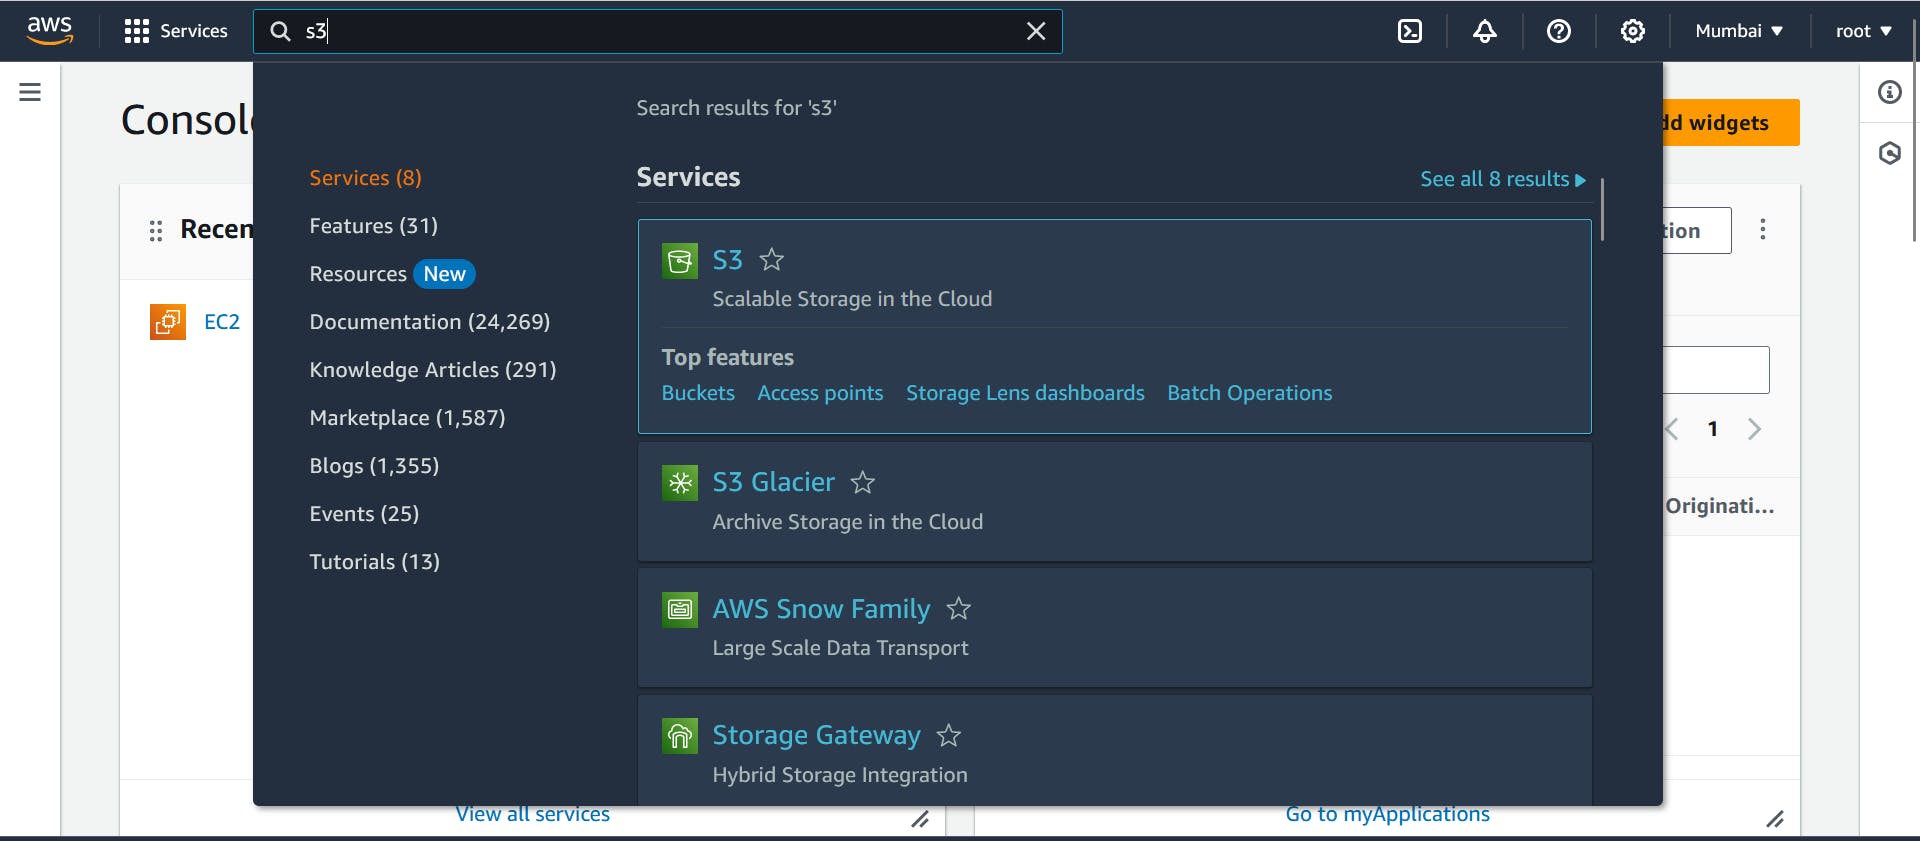
Amazon S3 is a cloud storage service provided by AWS. In simple terms, it's like a huge virtual hard drive that you can use to store and retrieve any type of data, such as documents, images, videos, or application data, over the internet.
On S3 Dashboard you will see Create bucket option. We will now create a bucket with following configuration. Go on with create bucket.

AWS Region: ap-south-1
Bucket name: As per your preference
Block all public access: uncheck
Bucket Versioning: enable
Once your bucket is created, Go to that bucket and upload your project in that bucket. After successful upload your bucket would look like below.

Now, Go to Properties -> Static website hosting and edit the fields as follows.
Static website hosting: Enable
Hosting type:Host a static website
Index document: index.html(depend on yourproject)
Save the above changes and you will get s3 bucket endpoint.

Now, if you try to access this endpoint through browser it won't be accessible. Because we haven't given permission on bucket.
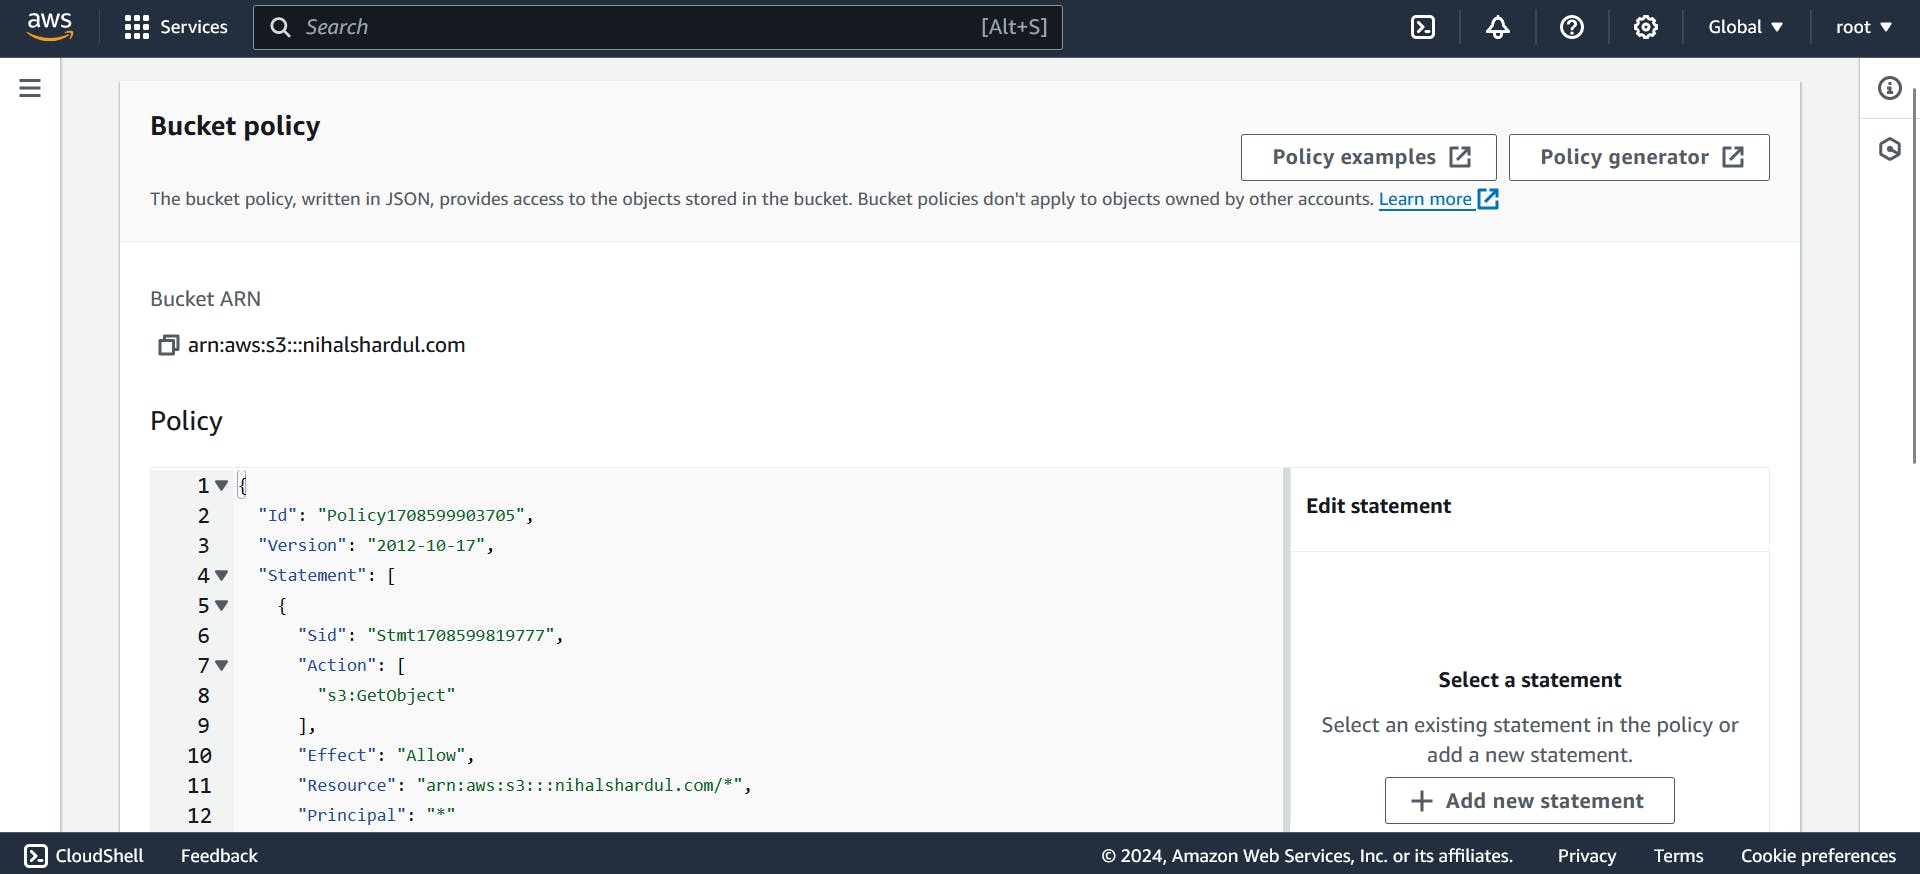
To do that we move to Permission -> Bucket Policy. Edit the Bucket Policy and you will see Policy section on left side. Don't worry if you don't know how to write policy, AWS provide generate policy feature from which you can easily generate policy.
Click on Policy generator and fill below details,
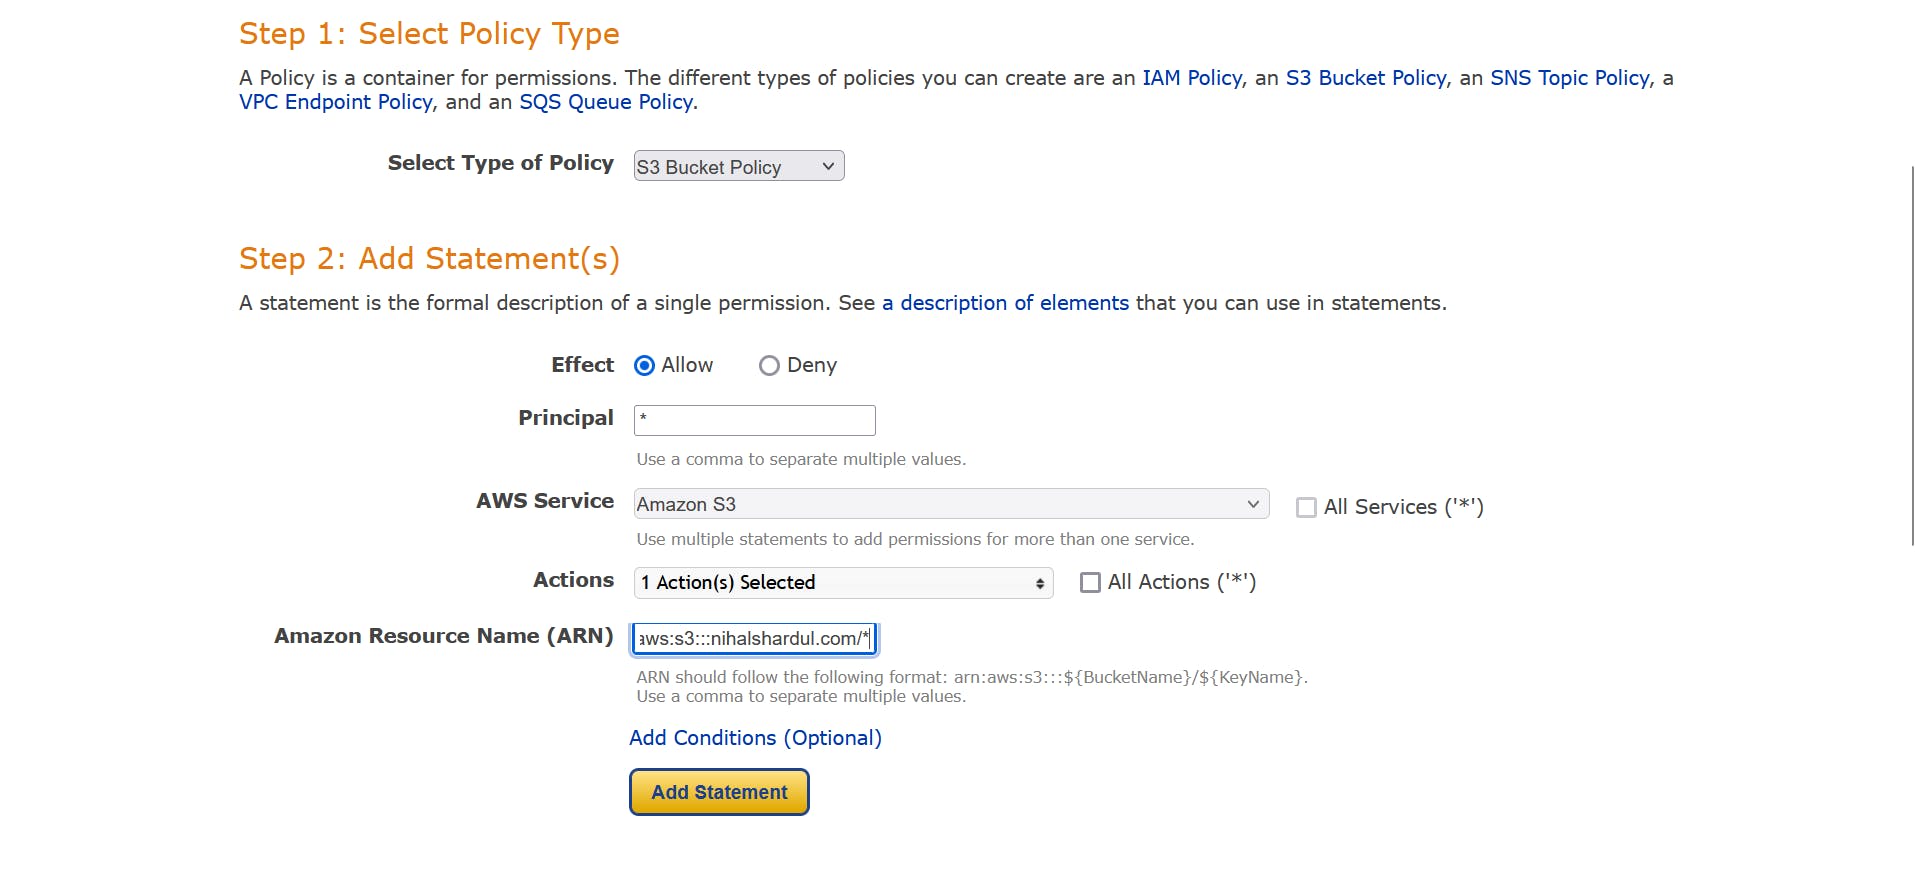
Remember paste your bucket ARN in that field and add /* so that it consider all object in that bucket. Click on add statement and generate policy. Policy would pop up, copy and past it in Bucket policy section.

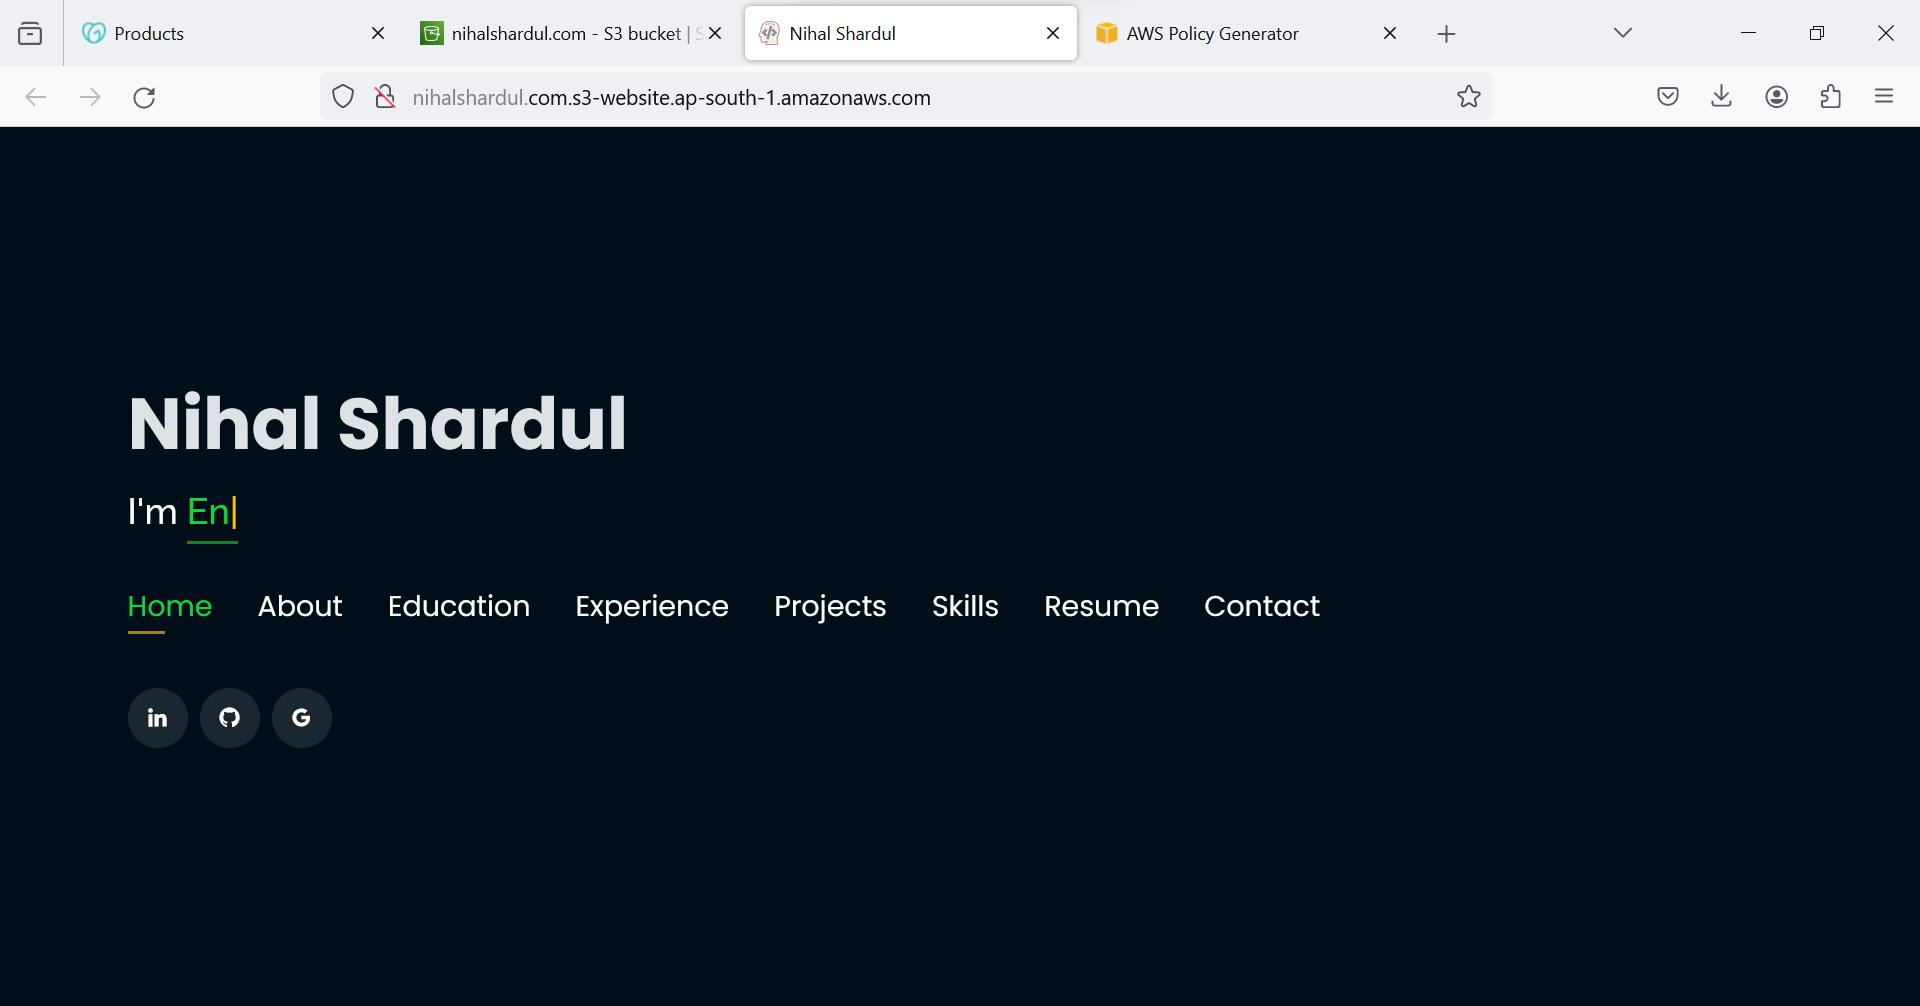
Now, if you try to access, the endpoint it would be accessible like below image.
Route53 Configuration: As of now we have done s3 bucket configuration and the website is accessible from that endpoint. Now, we are going to map domain with that endpoint where in route53 comes in.
Route53 main job is to map domain name to ip address or domain to aws service alias.
Let's create Hosted zone in route53. Search for Route53 and there would be an option of Create Hosted Zone. Create hosted zone and select type as Public.

Below two records would be available by default.

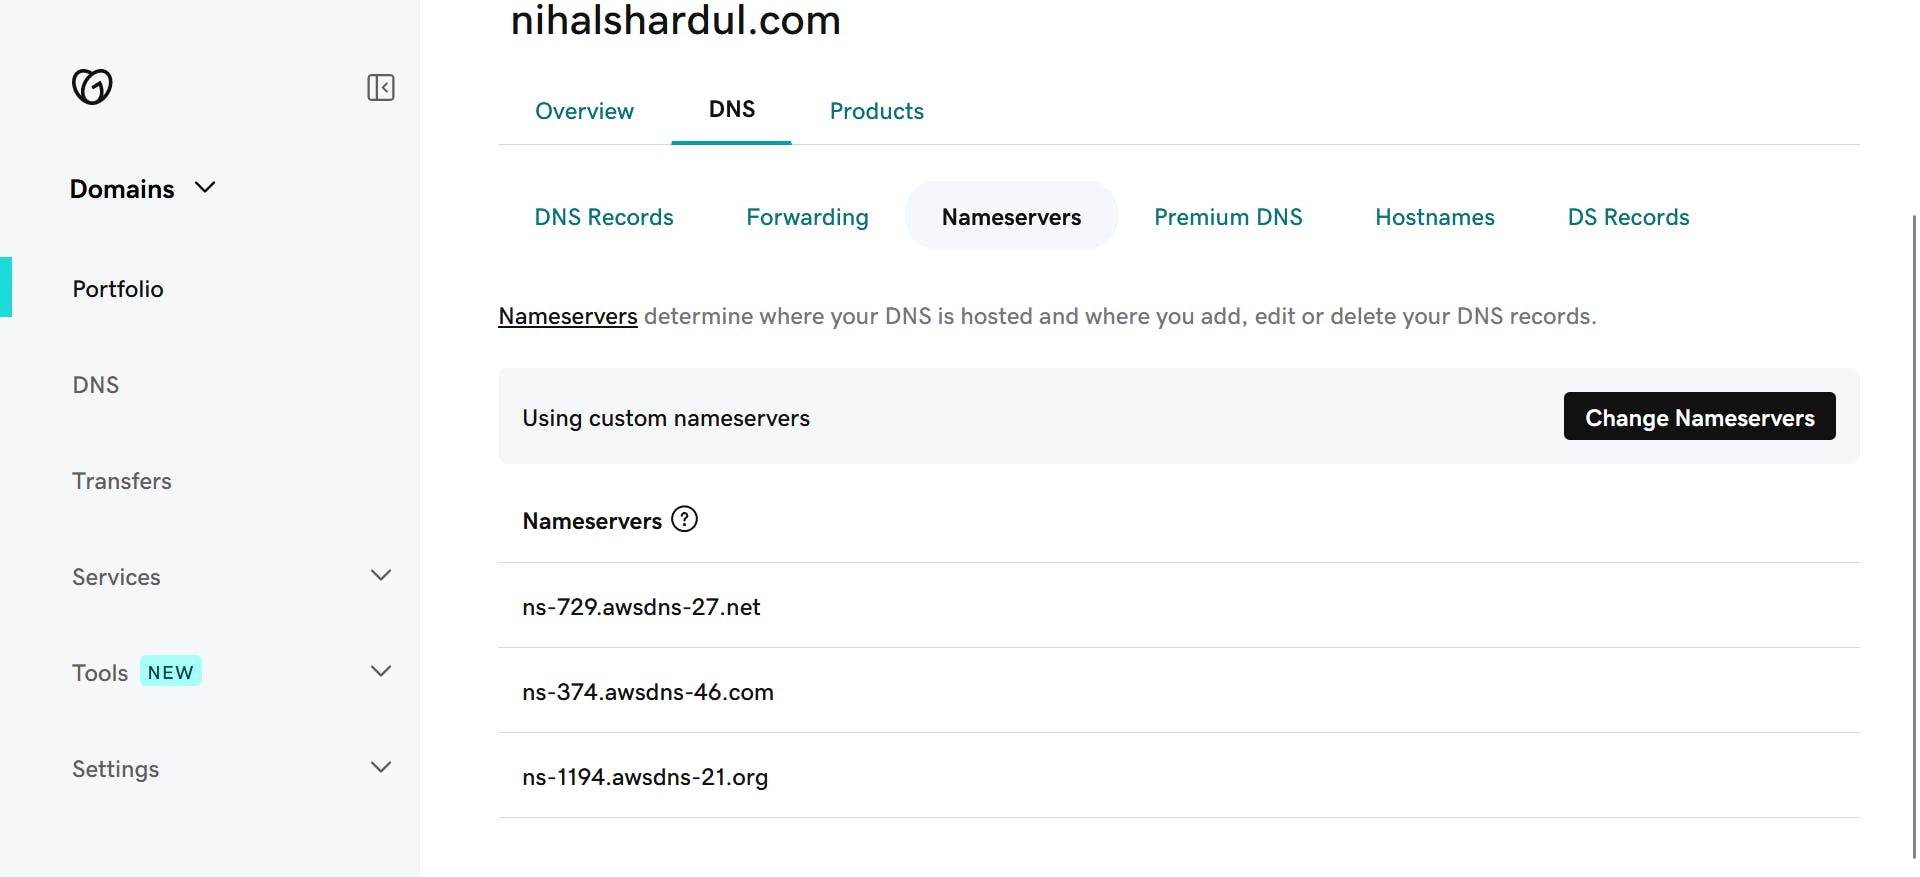
Now we need to change DNS records of domain provider(GoDaddy.com) so that it can route traffic to aws nameserver.
Go to GoDaddy portal -> domain -> Manage -> DNS.
Replace the default values with AWS NS records in GoDaddy DNS nameserver. It should look like below.
Now, come back to Route53 Hosted zone and create a record with below details.
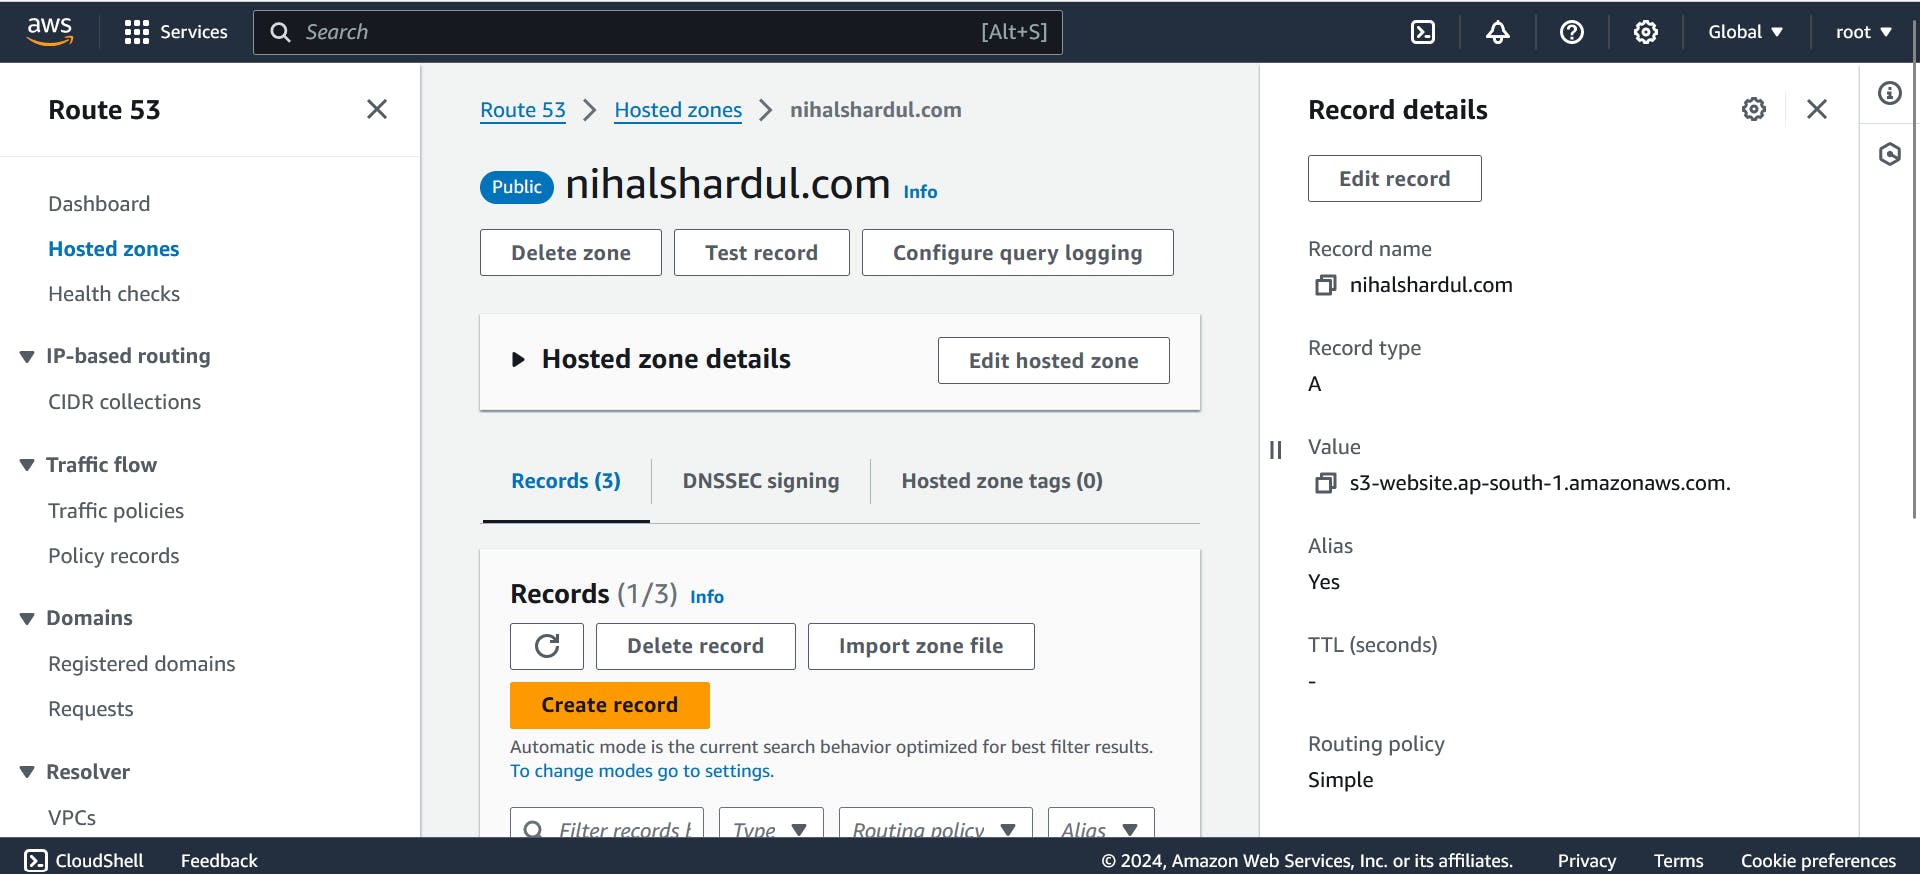
Here, enter your s3 endpoint url in values section and record name as per your preference. Once done, you would be able to access your website over the internet as shown below.

CloudFront Configuration: Now we are going to apply TLS certificate to website and cloudfront to load website even more faster to user end.
CloudFront is like a delivery service for the internet. It helps speed up the delivery of your website's content, such as images, videos, and web pages, to users all around the world.
Go to CloudFront by using search feature and create a distribution with following details.
Origin domain: s3 bucket endpoint
Viewer: Redirect HTTP to HTTPS
WAF: Disable
Alternate Domain Name(CNAME): your domain name
SSL certificate: select one(if not created create one using request certificate)
If SSL certificate is not available create one using Request certificate, Once created there will be an option to add it to Route53.
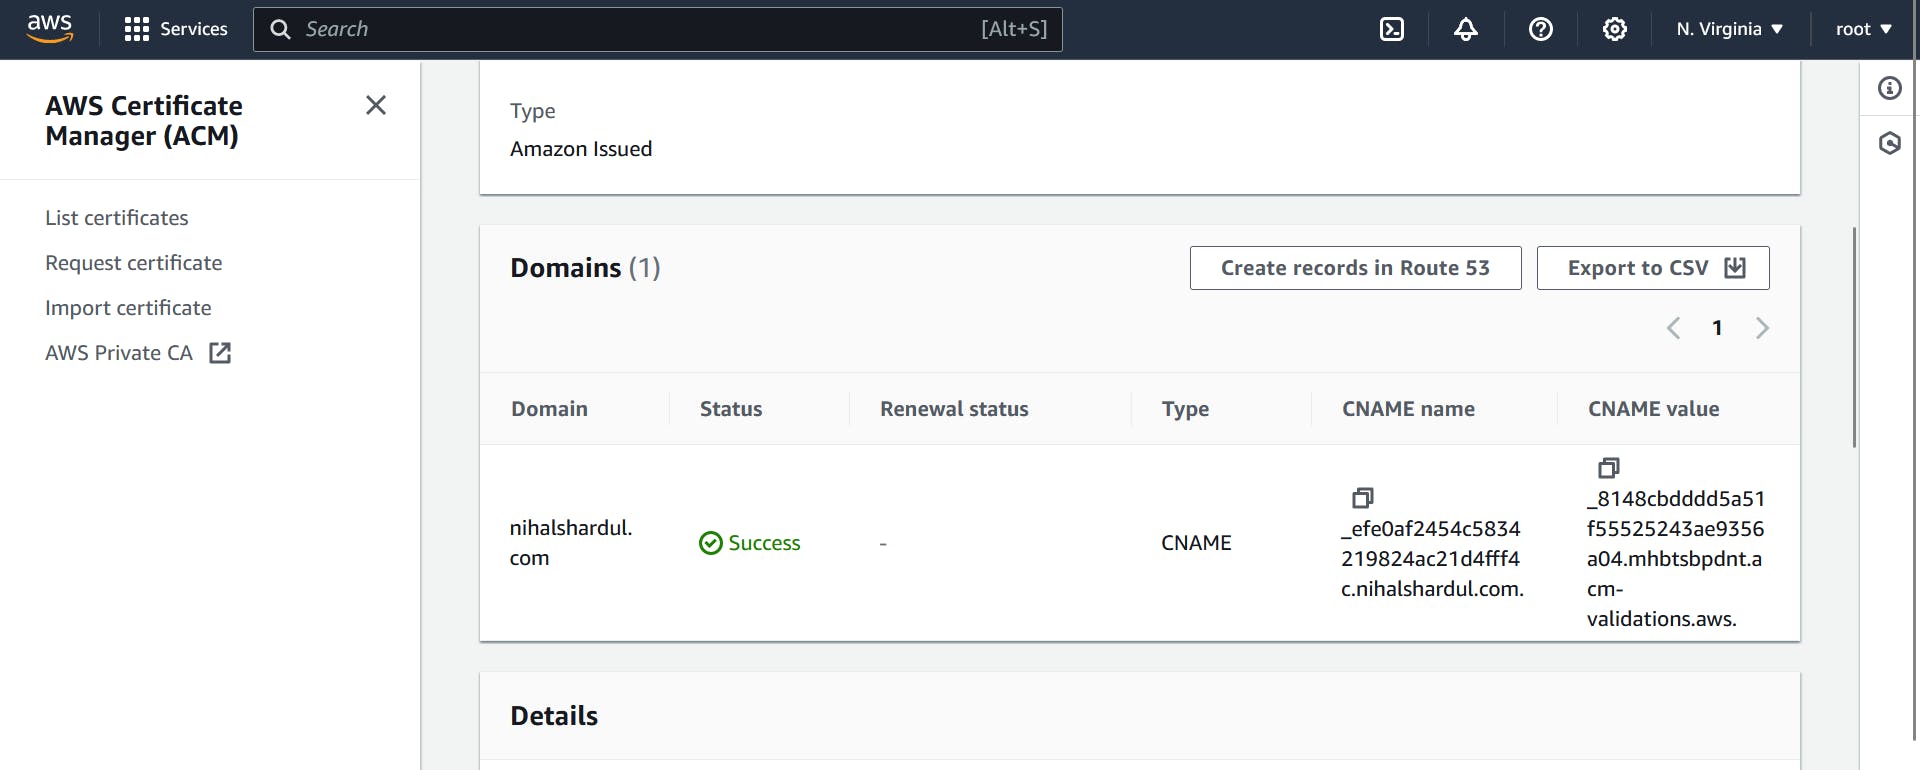
It's entry would be display in Route53 Hosted zone like below of type CNAME.
Once done, go back to Cloudfront and select certificate then Create distribution.

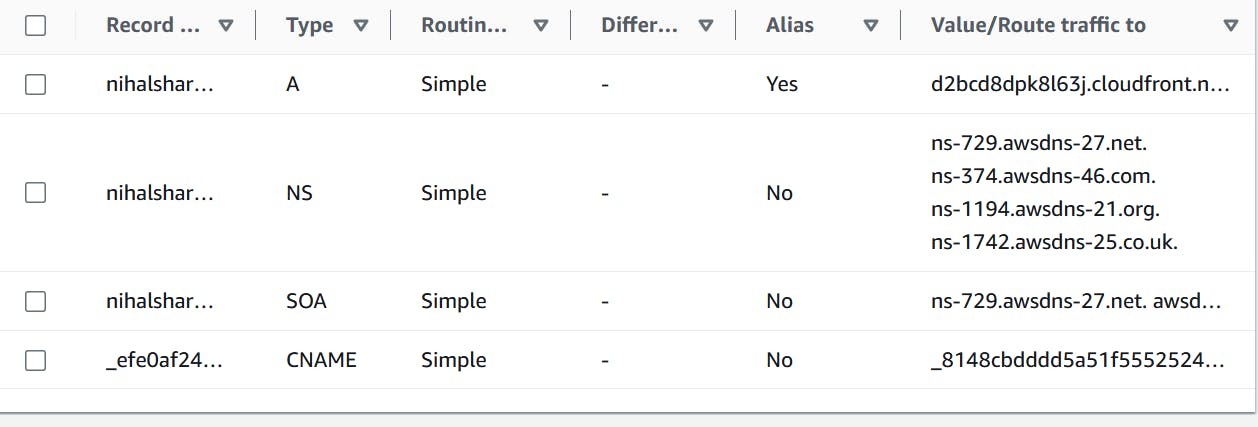
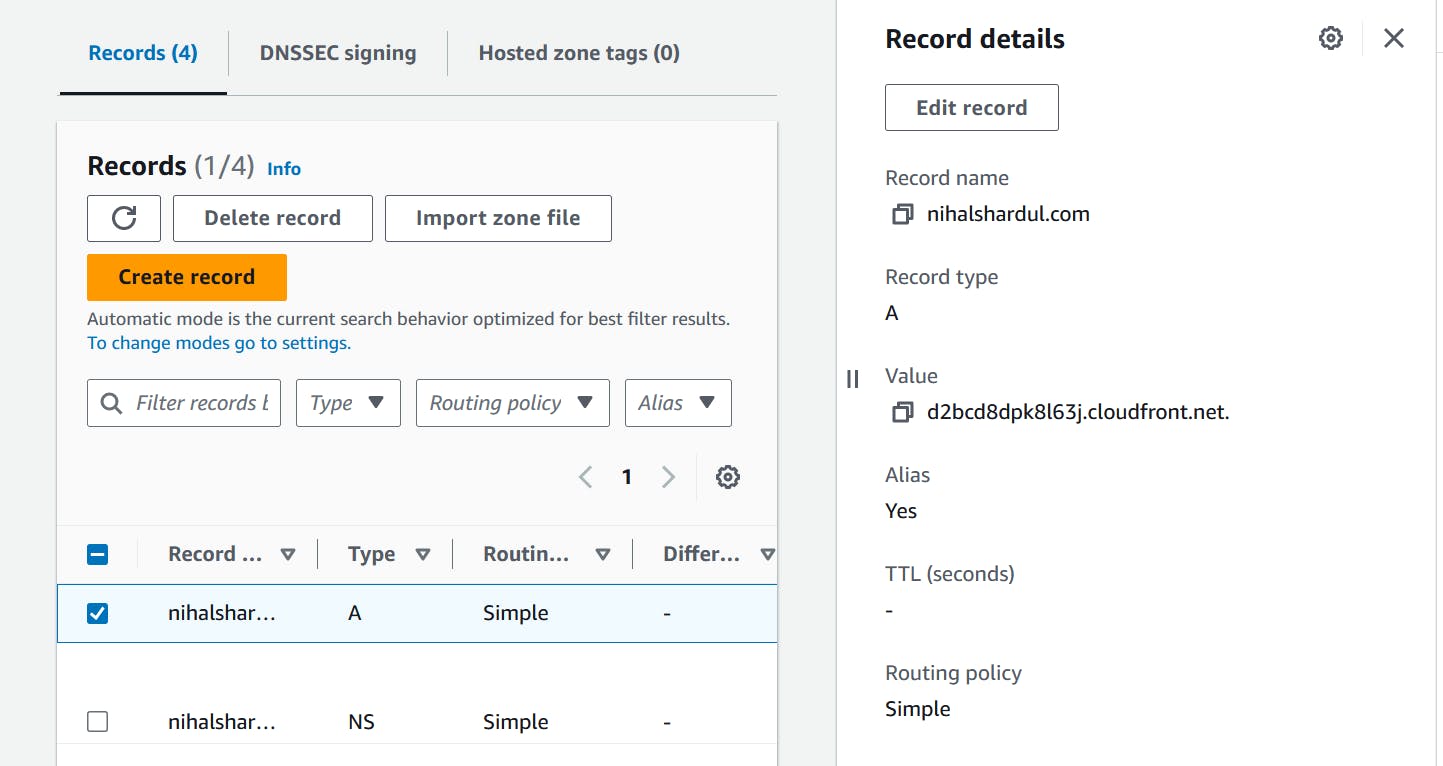
Once it is deployed, modify the entry in Route53 as for your domain name and replace it with Distribution domain name as follows.
Now, if you access the website, you will see that the website loads even more faster and SSL certificate is applied to that website.
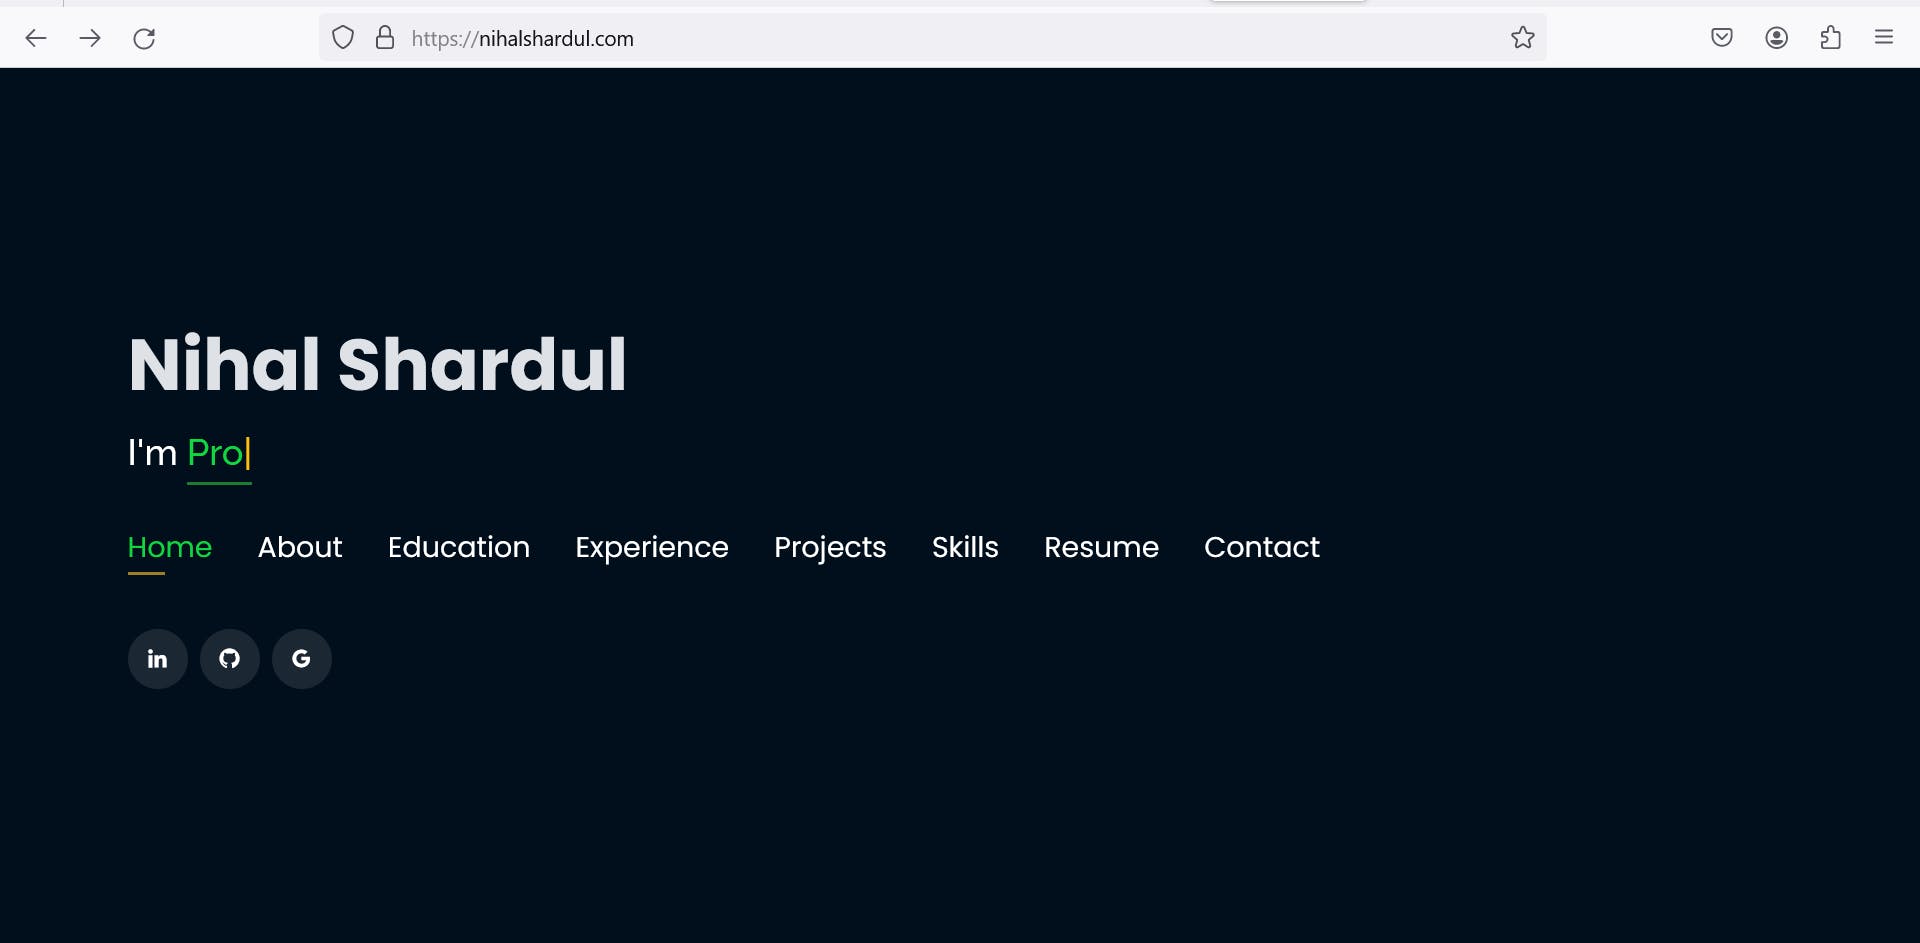
Now, we see cost-effective and highly available static website. It loads website faster even if there are many number of request per second.
This is the architecture of the project and you can access the website by using this link https://nihalshardul.com
Please provide your feedback if have any.
Happy to Architect !!!